We’re thrilled to unveil a new feature of our platform — Role-Based-Account-Access (RBAC)! Now, you can manage roles and grant access to different parts of our service with much more flexibility.
What’s RBAC?
RBAC, short for Role-Based-Account-Access, lets you configure roles and access rights flexibly, ensuring the right people have the right permissions. Companies benefit from RBAC by streamlining their workflow and enhancing security. It’s handy for organizations with diverse teams, allowing tailored access for different departments and roles, from administrators to support staff.
🔄 What’s changed?
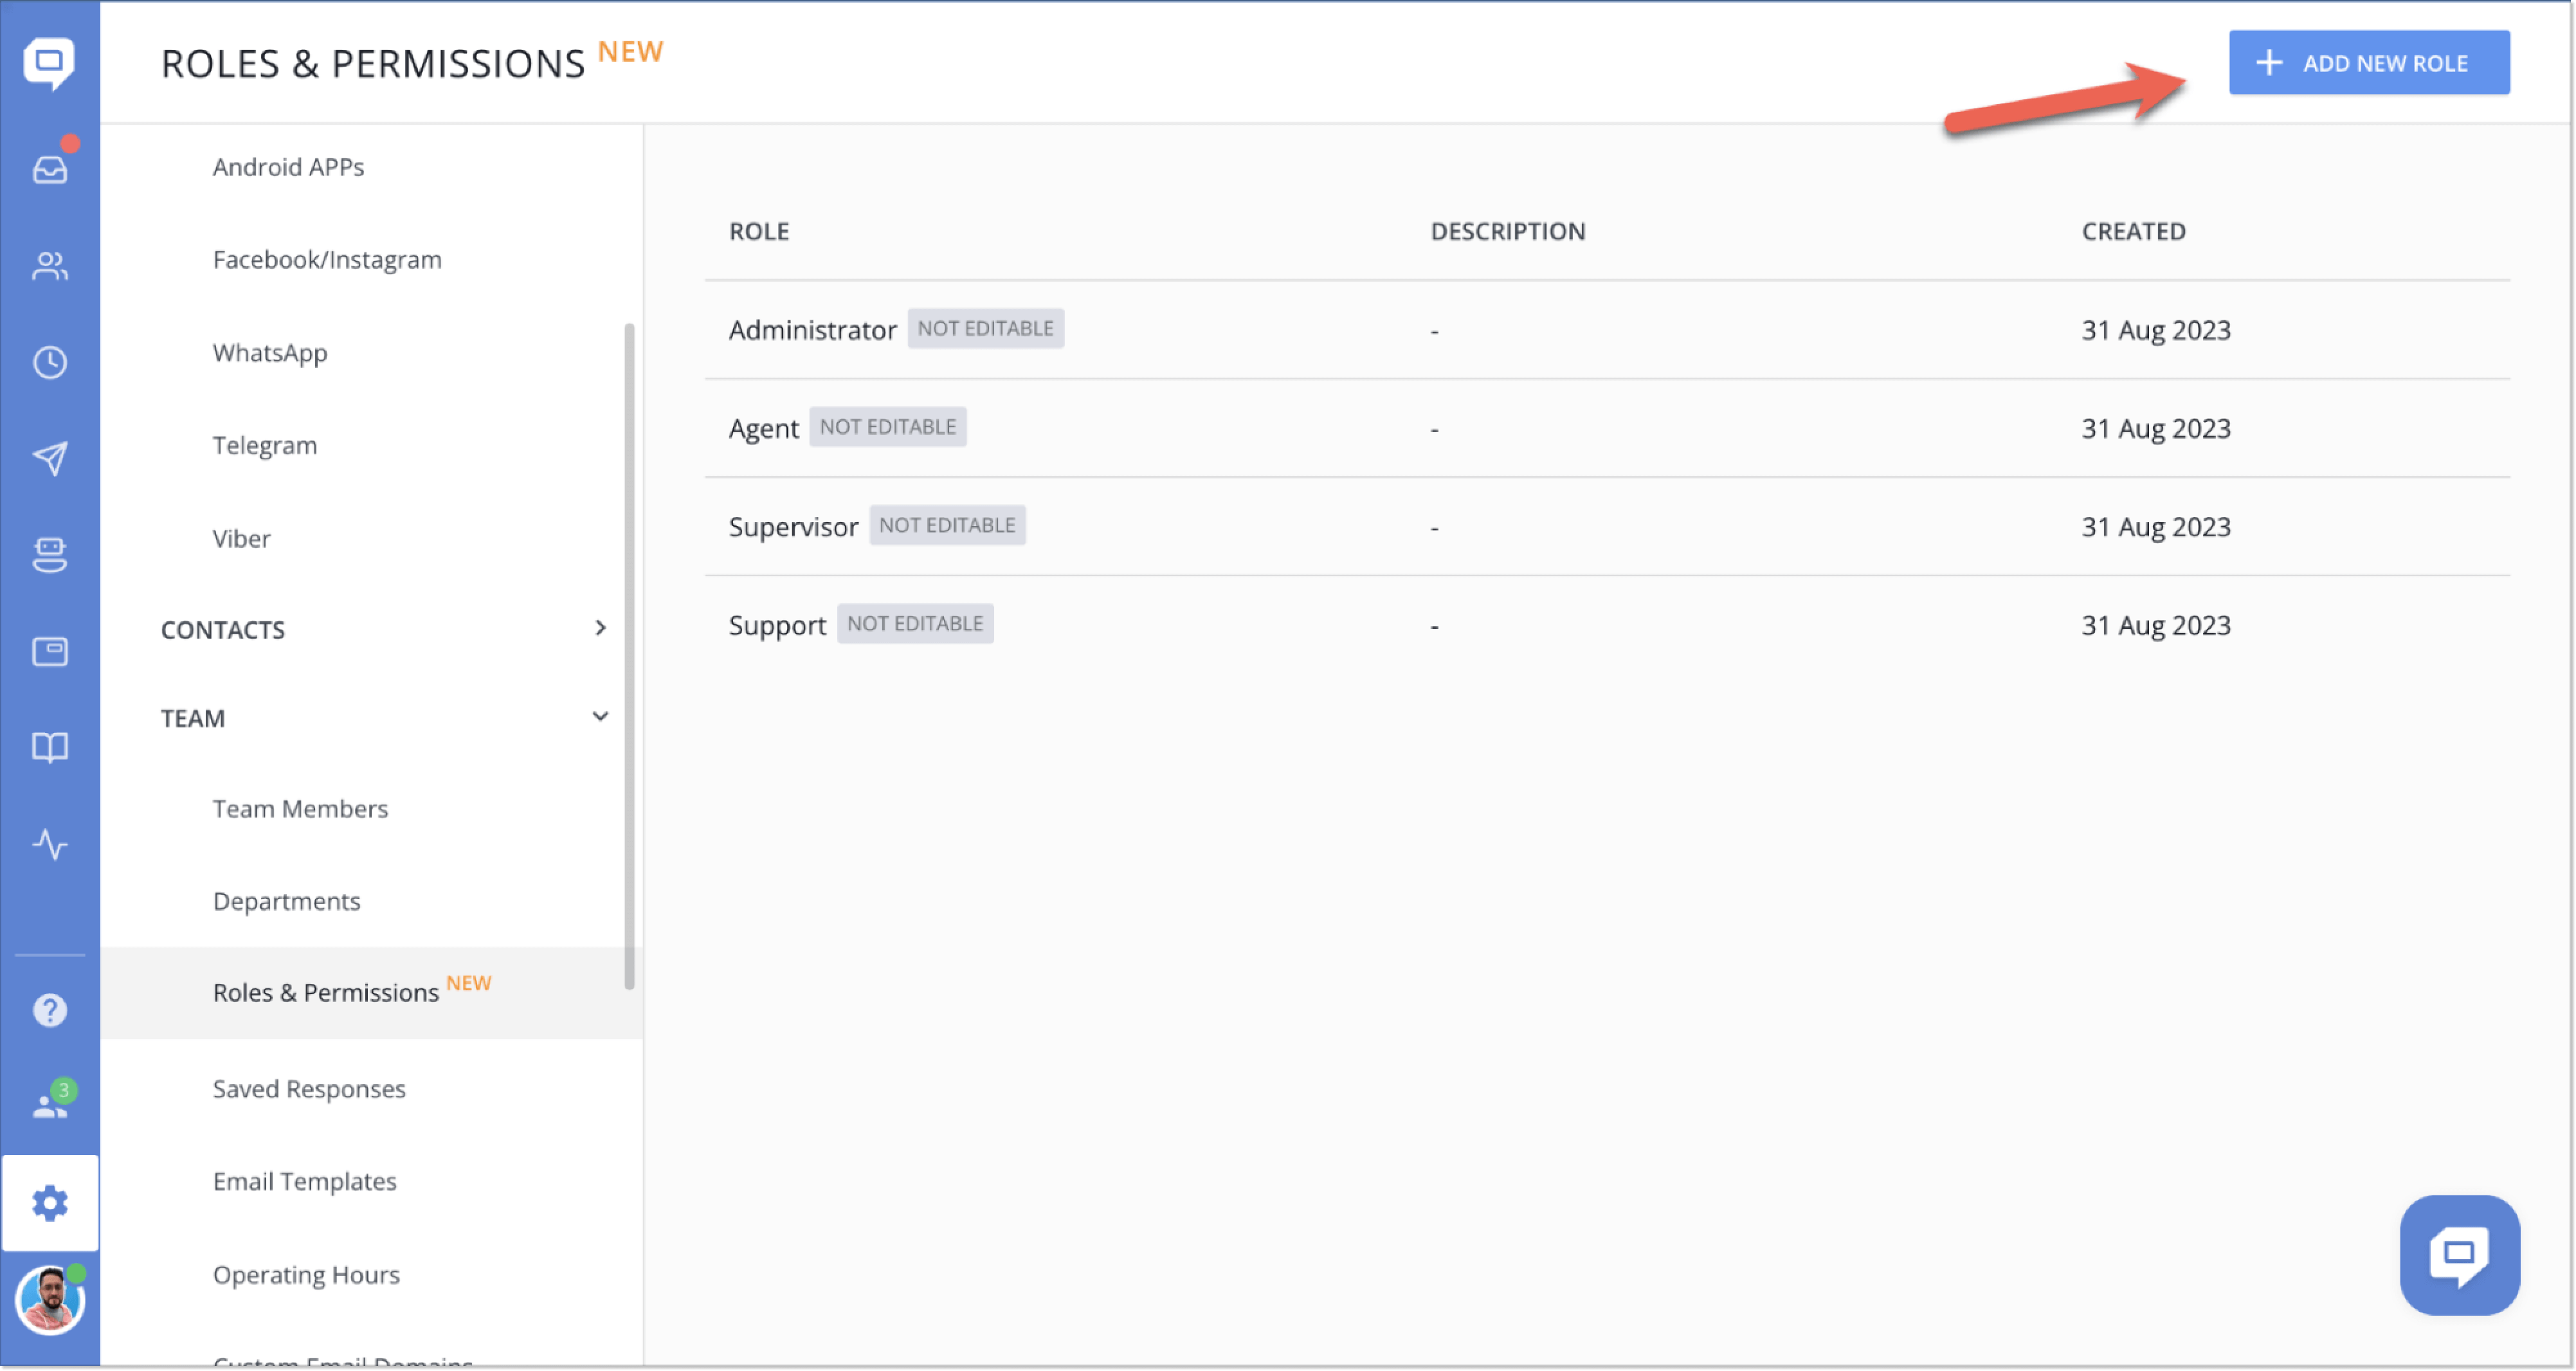
Previously, you had just four default roles. With RBAC, you still have those defaults: Administrator, Supervisor, Agent, and now Support (formerly known as Agent chat-only). But now, in the Settings → Team section, you’ll find a new Roles & Permissions block. You can add custom roles and tweak access settings to your heart’s content there.
📝 How does it work?
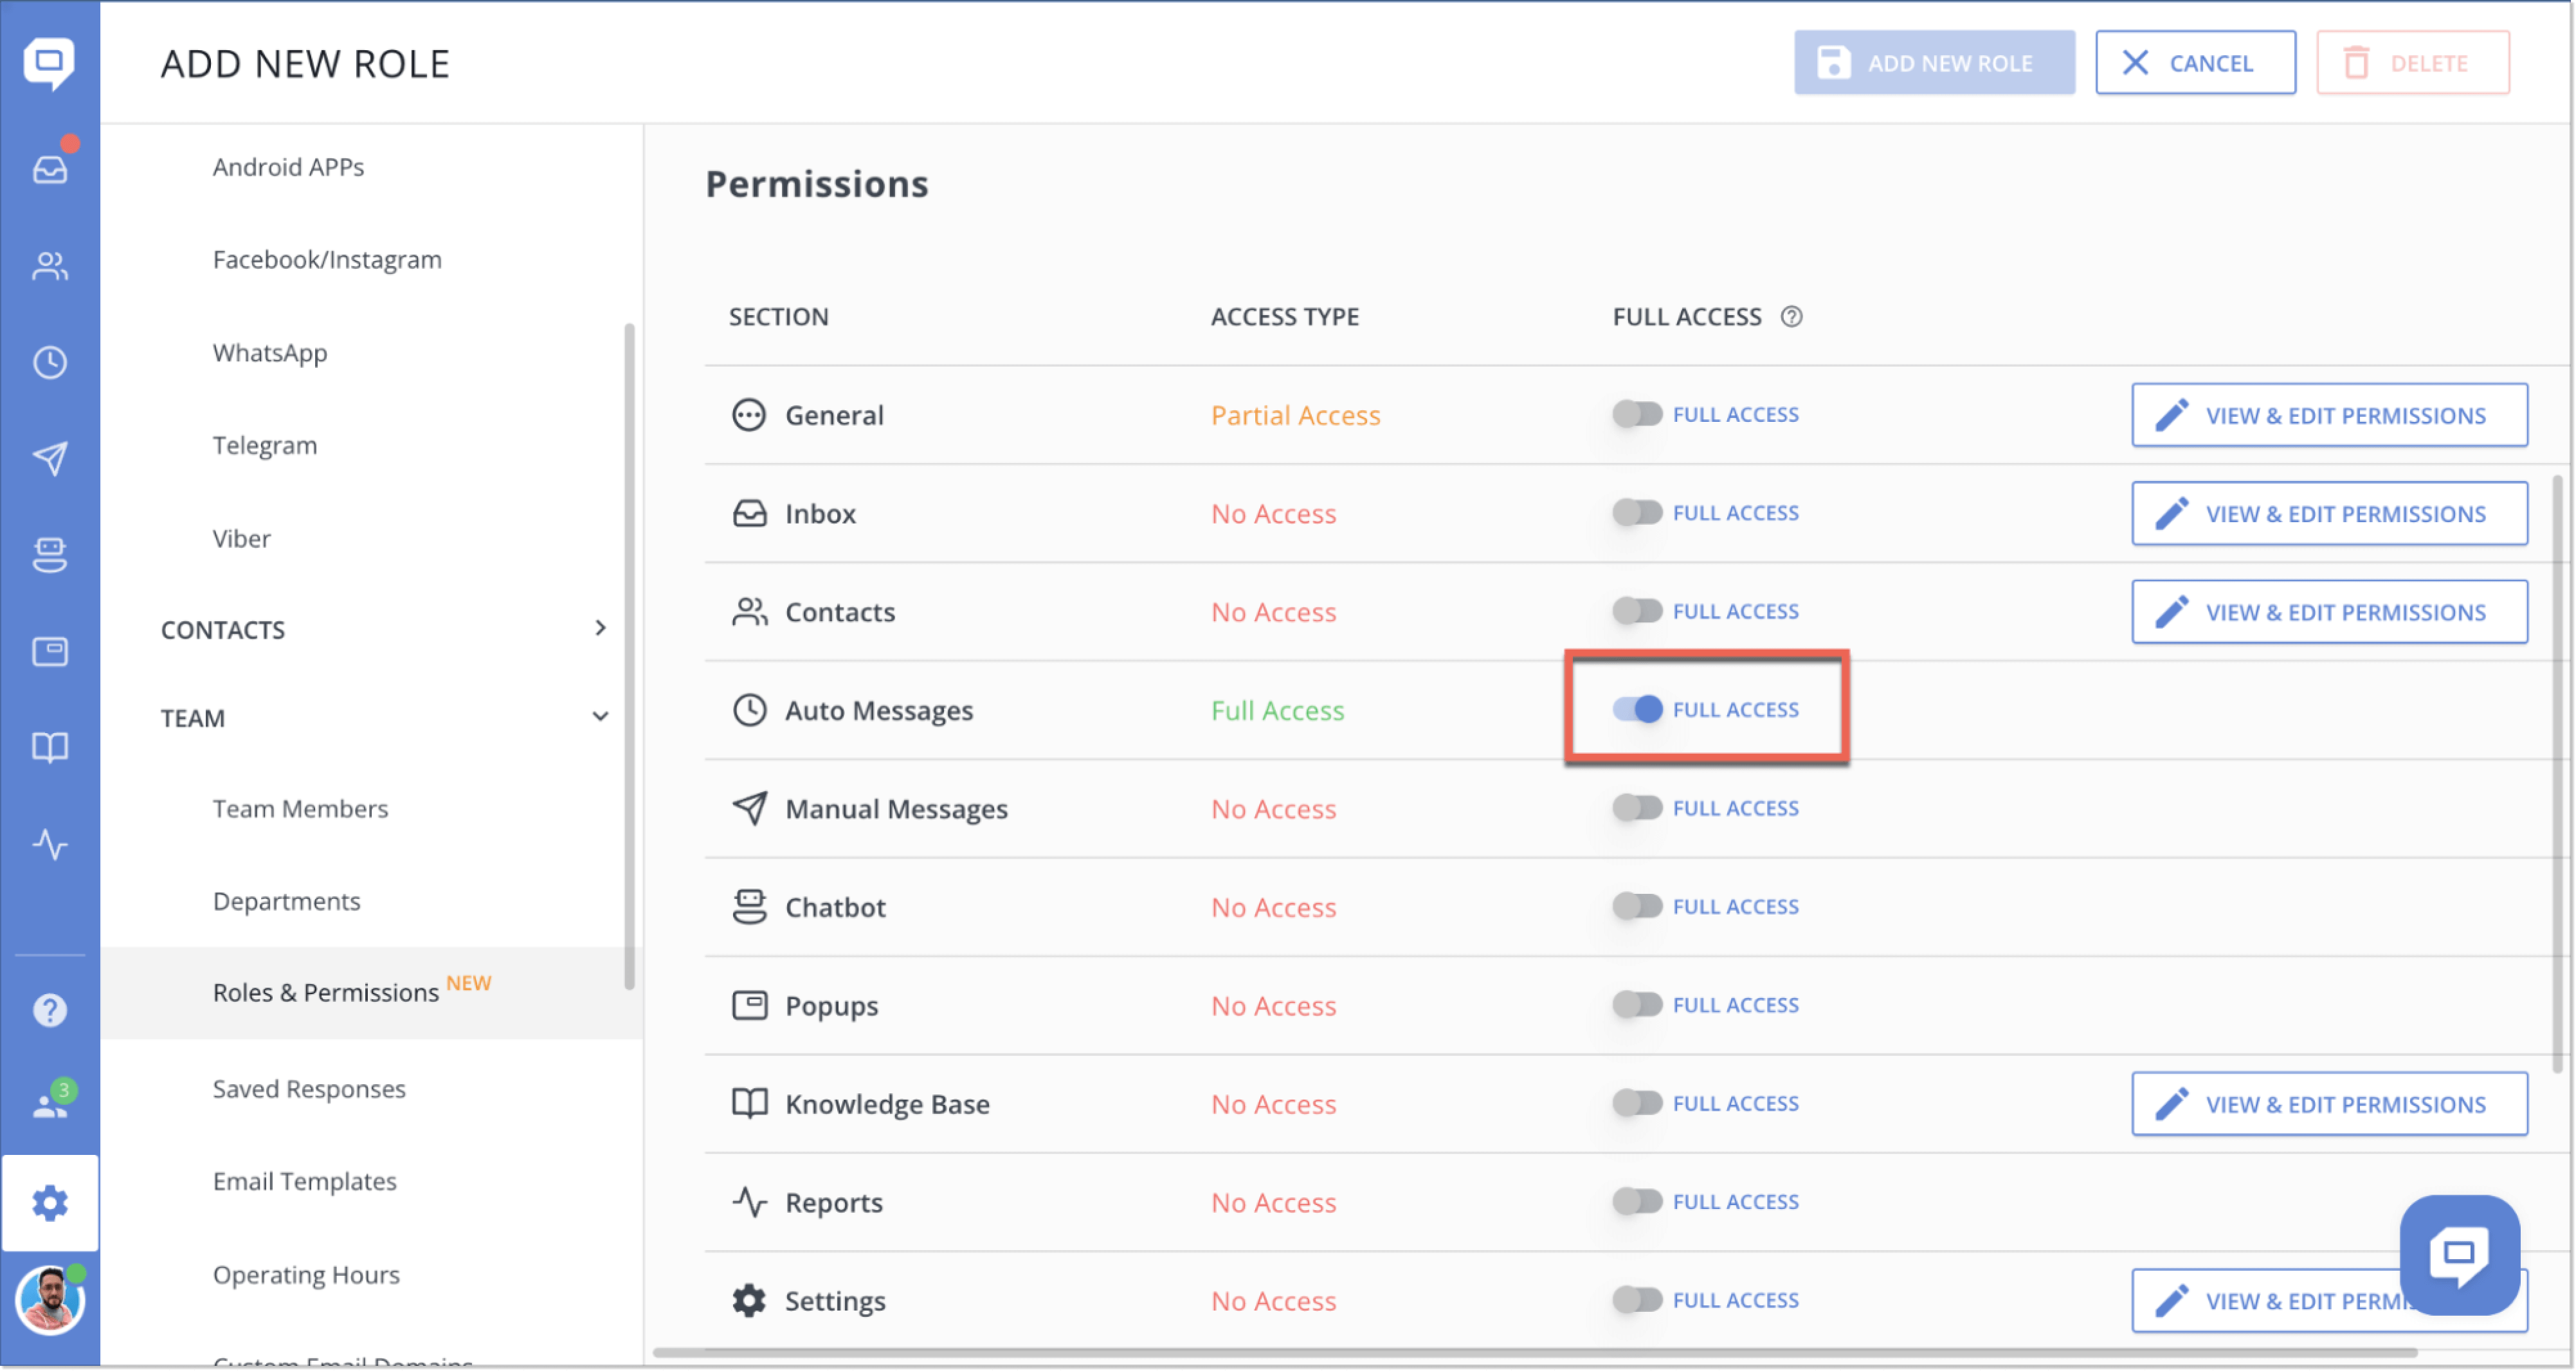
When adding a custom role, you can fine-tune access to different service parts and even individual actions within those sections.
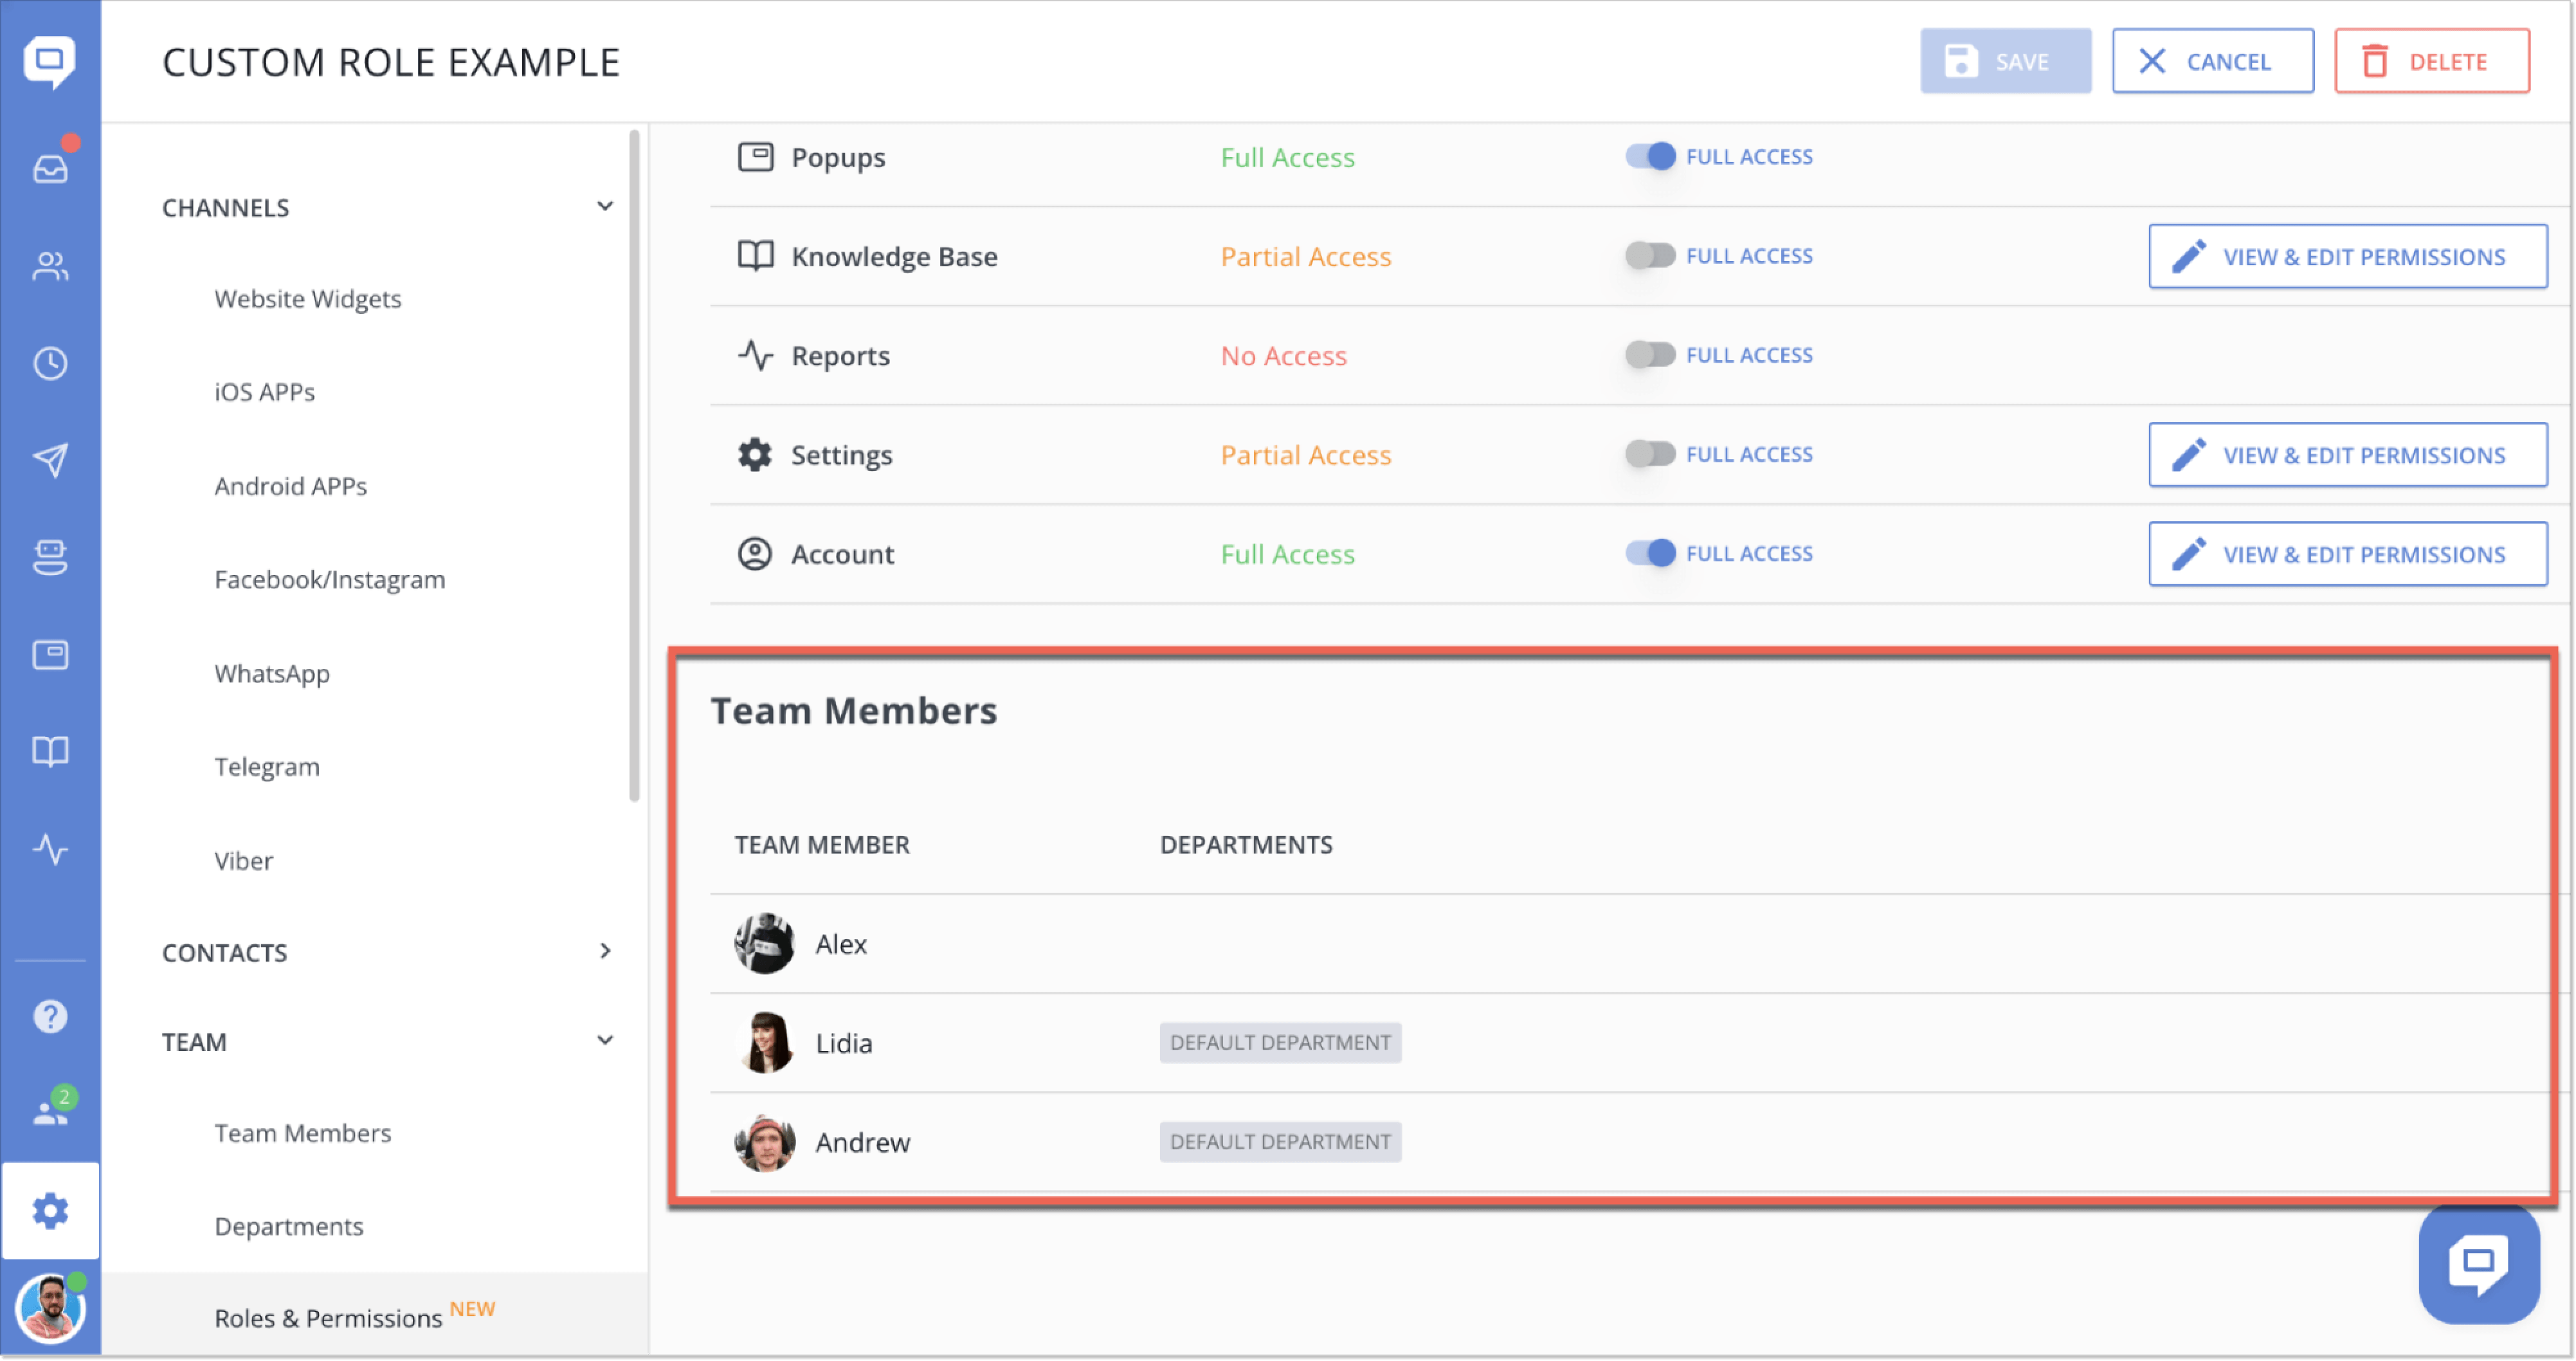
Also, you can now easily view all team members assigned to a specific role for added convenience.
The RBAC feature is only available in Pro and Unlim subscription plans:
With RBAC, managing roles and permissions has never been smoother. For more information, read our Knowledge Base article on the topic.
Read Also
📱 Mobile cleanup: New chat search in apps & SDK stability
Our mobile stack just got a serious cleanup. Enjoy a brand-new chat search in the HelpCrunch Inbox apps, improved message reliability, and a load of SDK stability fixes.
🛠️ Custom domain for chat transcripts, new permissions, and more
Custom domain for chat transcripts, new block/unsubscribe permissions, open link settings for auto and manual messages, and a clipboard paste fix in Inbox. Check what's new!
🧠 AI Agents supercharged: Multi-source answers and enhanced accuracy
Our AI Agents just got a major upgrade: next-gen models, multi-source answer synthesis, and smarter conversation flows. Discover all the improvements.
