Another piece of good news from HelpCrunch, meet our brand-new feature that allows you to create chatbot flows in social media and messengers such as Facebook, Instagram, Telegram, and Viber. In this post, we will tell you more about our update and how to navigate it. Let’s go!
Why did we divide chatbot flows into channels?
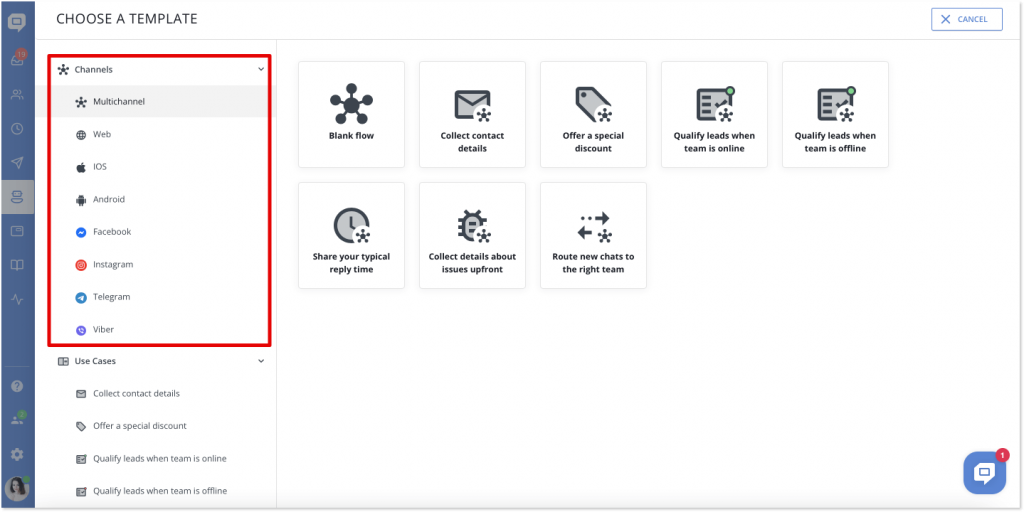
Probably, you have already noticed that from now on, when you go to the Chatbot section on our platform and click ‘Add new flow’, a new column appears in front of you on the left. The top drop-down menu is called ‘Channels’ and includes 8 elements. These are the channels where you can create your chatbot script.
Woo-hoo, so familiar social media messengers icons 👋. Yep, from here you can easily create a new chatbot flow for any of the messengers shown below. But more on it in a sec 👇.
So, why did we come up with this division? We divided chatbot flows by channels as the social media messengers impose certain restrictions on the capabilities of the bot within their platforms.
As for us, we plan to expand the set of our chatbot features for websites and apps as well as for the iOS and Android SDK, and these developments will go further than what social media can offer.
Thus, after we introduce new capabilities, you will be able to set up more advanced bot scenarios for your website, while keeping it limited for messengers. Also, it’s just much more convenient in case you want to run one bot flow on Instagram, and another one on the web.
How to create a bot flow for social media messenger?
Let’s say you want to create a chatbot scenario for Facebook Messenger. There are a few ways you can do this. Follow my lead and you will never get lost 😉.
The first option is to go to the Chatbots section, click ‘Add new flow’, then choose ‘Facebook’.
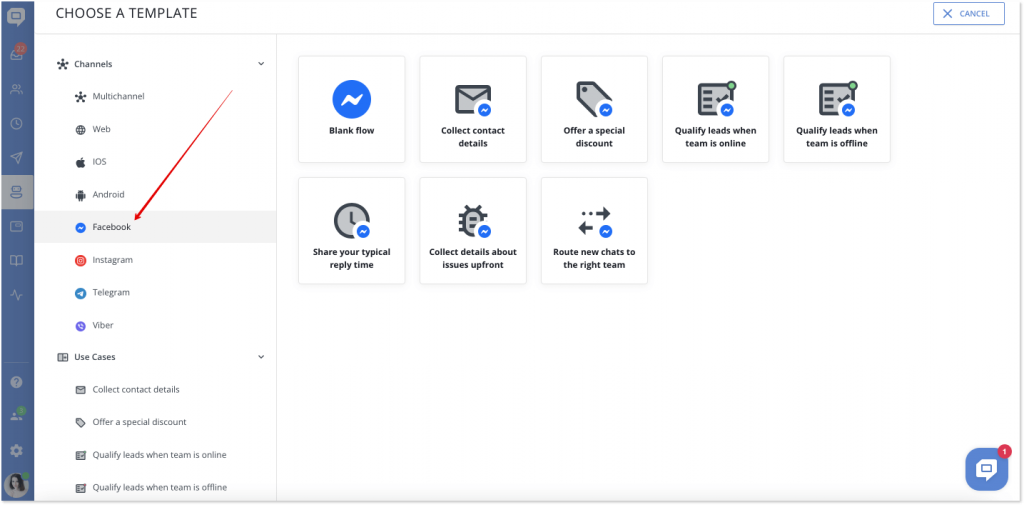
Pick ‘Blank flow’ if you want to create a script from scratch or choose one of our carefully prepared templates.
The next step is to set up the general preferences and, in the ‘Channels to run’ field, choose the Facebook account where you want to launch your chatbot.
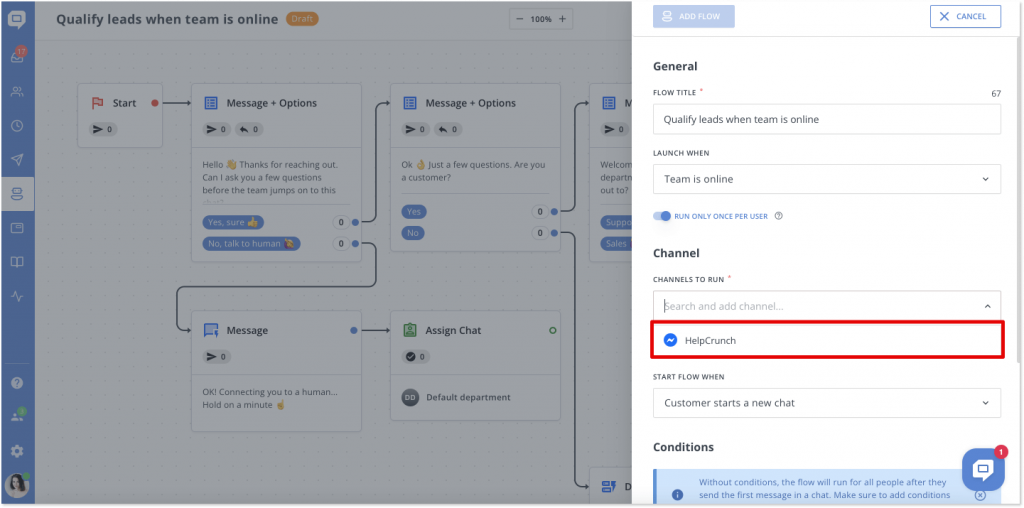
After that, the process of creating and launching a bot is no different from the one you are already familiar with. If not, just have a look at this quick guide.
Second way to create a chatbot for Messenger is by following these steps: Chatbot section -> Add new flow -> Blank flow/one of the templates -> Channels to run -> [your Facebook Messenger account].
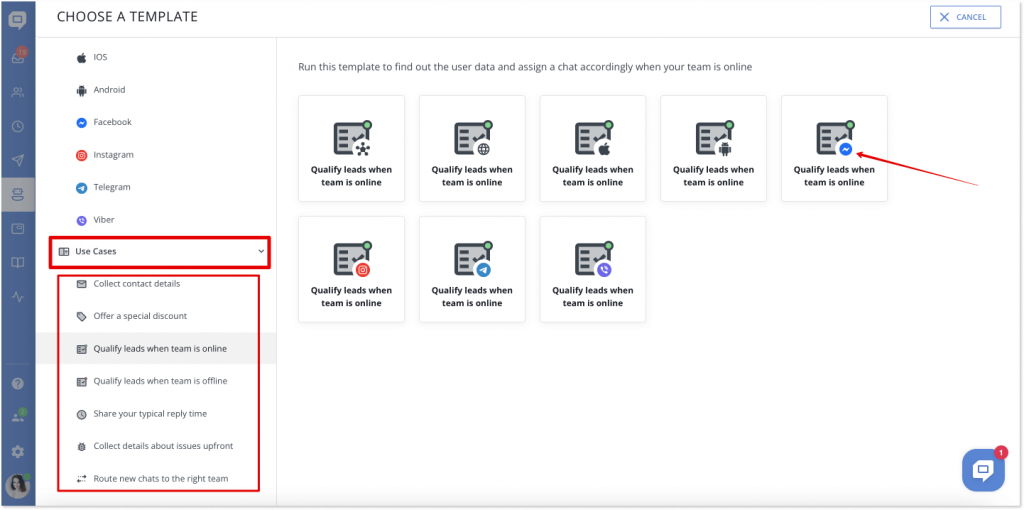
And, finally, the third way to create a chatbot in messenger is by doing exactly the following: Chatbot section -> Add new flow -> Use cases -> [use case that is relevant for you] -> [Pick the template with an appropriate messenger icon].
Filtering by chatbot channels
Adding more channels can look messy, that’s why we decided to create a filter option to ease your chatbot management. It allows you to literally filter bot flows by channels and see all the bots per channel. Always be on top of what’s going on with your chatbot performance!
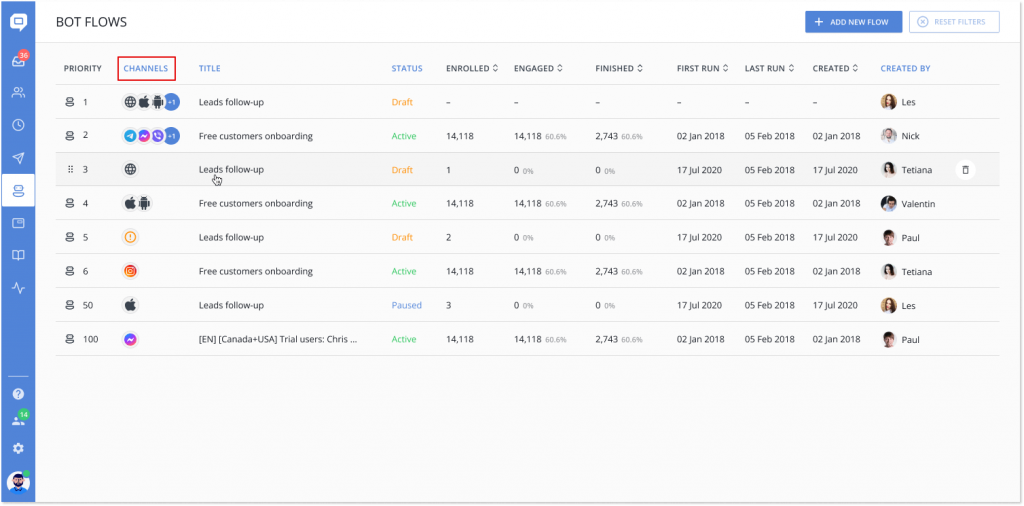
Just click on ‘Channels’ and check the boxes to filter.
Other news
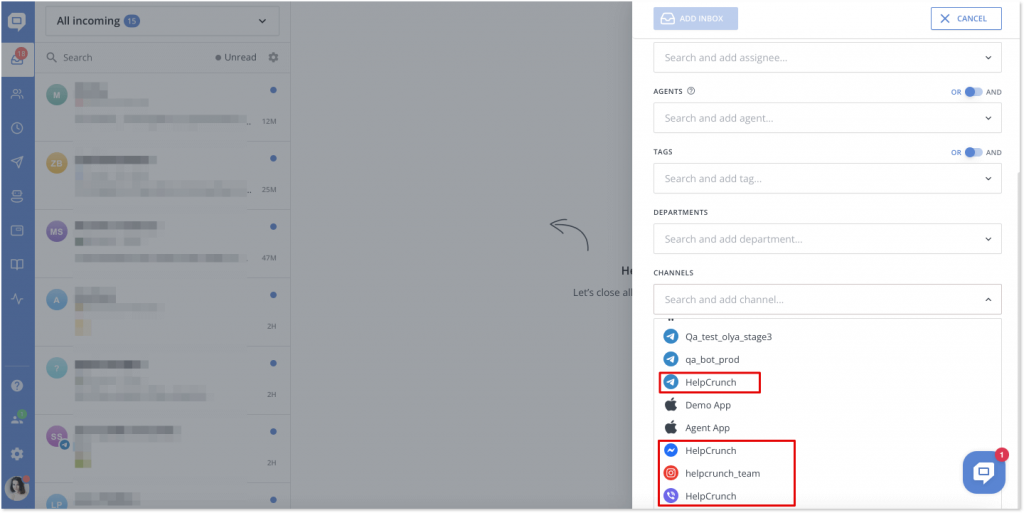
Custom inboxes for social media channels
From now on you can filter chats by customer communication source, including social media: Facebook, Instagram, Telegram, or Viber. To do that, you have to add a new custom inbox first.
How can you do that? Go to your main inbox in the HelpCrunch platform, then click the top drop-down menu on the left ‘All incoming’, and choose ‘Add new inbox’.
Next, adjust new inbox settings and, in the ‘Channels’ section, set up a particular customer communication source you need, including social media messengers 💁♀️
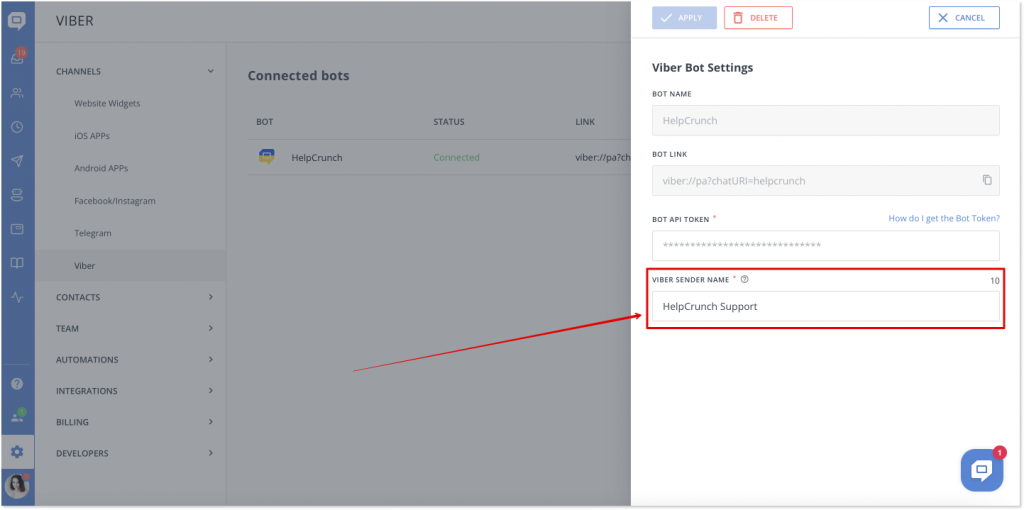
Change sender name for Viber bot
Now you can change the sender’s name in the Viber bot setting, so that instead of a boring ViberBot it will display your name or whatever you choose. To do that, go to Settings -> Channels -> Viber -> [Click on your bot] -> Viber sender name.
Read Also
📱 Mobile cleanup: New chat search in apps & SDK stability
Our mobile stack just got a serious cleanup. Enjoy a brand-new chat search in the HelpCrunch Inbox apps, improved message reliability, and a load of SDK stability fixes.
🛠️ Custom domain for chat transcripts, new permissions, and more
Custom domain for chat transcripts, new block/unsubscribe permissions, open link settings for auto and manual messages, and a clipboard paste fix in Inbox. Check what's new!
🧠 AI Agents supercharged: Multi-source answers and enhanced accuracy
Our AI Agents just got a major upgrade: next-gen models, multi-source answer synthesis, and smarter conversation flows. Discover all the improvements.
